
All Categories
Get upto 25% OFF on All Order - SHOP NOW
Availability: In stock
Free shipping and returns available on all orders!
We ship all US domestic orders within 5-10 business days


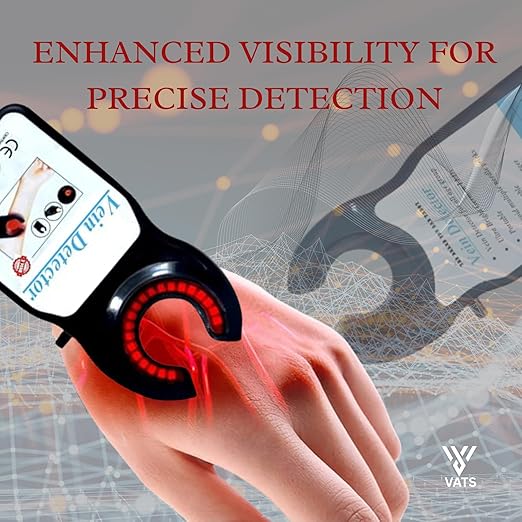
Key Specifications & Features:
Device Type: Portable / Handheld Transilluminator
Light Source: High-intensity Infrared / Red LED Array (horseshoe/ring arrangement for transillumination)
Application: Venipuncture, IV line insertion, blood draw, and vascular access assistance for all age groups (pediatric, adult, elderly)
Operating Mechanism: Transillumination method — highlights superficial subcutaneous veins through contrast absorption
Power Source: Internal rechargeable battery (charges via standard DC power input)
Status Indicators: LED charging indicator (red for charging, green for fully charged)
Controls: Side-mounted toggle ON/OFF switch
Step-by-Step Instructions for the VATS Vein Detector
1. Preparation & Setup
Sanitize: Place a clear disposable hygienic sleeve over the device or wipe it down with a medical germicidal wipe to prevent cross-contamination.
Adjust Environment: Dim the ambient lights in the room as much as possible for optimal visibility.
Power On: Flip the toggle switch located on the right side of the device to illuminate the red/infrared LED ring.
2. Locating the Vein
Skin Contact: Place the curved C-shaped head firmly against the patient's skin. The device must make direct contact so the infrared light penetrates the tissue properly.
Scan: Slowly glide the detector along the arm, hand, or target area while applying gentle pressure.
Identify: Look inside the C-shaped opening. Venous blood absorbs the light, making veins appear as dark lines or shadow contrasts against the red-illuminated tissue.
3. Anchoring & Needle Insertion
Position: Turn the device parallel to the arm so the target insertion spot sits inside the C-shaped open notch.
Anchor the Vein: Press down gently on the device while slightly pulling back on the skin to stretch it. This secures the vein and prevents rolling.
Insert Needle: Insert the IV cannula or needle at the appropriate angle through the opening of the C-shape directly into the visible vein path.


